

Git is a distributed version control system (VCS) used for tracking changes in source code during software development. It allows multiple developers to work on a project simultaneously, making it easier to collaborate, manage, and track changes.
It is widely used in software development, from small personal projects to large-scale enterprise applications. Git is the backbone of many collaborative development workflows, enabling teams to work together efficiently and effectively.
In this tutorial, we will show you how to install Git on a Ubuntu 24.04 OS.
Method 1: Install Git with default package manager APT
Installing Git with a package manager like apt offers you ease of installation; it also allows you easily manage and update Git. However, the version in the default repository is often not the latest release.
The version of Git you get with this method may not be the latest version. This is because Ubuntu prioritizes stability and thorough testing over cutting-edge updates to ensure that software in the official repositories is reliable and secure for users.
Ubuntu 24.04 should have git installed by default. Run the following command to check if you have git installed:
# git --versionIf Git is already installed, the version should be displayed:
git version 2.43.0In order to have the latest LTS version, you will need to add a PPA repository using the following command:
# add-apt-repository ppa:git-core/ppa Once you are done, update the repository with the following command:
# apt update & apt upgradeThen install Git:
# apt install gitVerify the installation and display the Git version:
git --versionOutput:
git version 2.46.0Method 2: Install Git from source code
If you want to install a different version of Git you can use the following method to install Git.
First, you need to install some packages that are required for the successful installation and functioning of Git.
# apt install libcurl4-gnutls-dev libexpat1-dev gettext libz-dev libssl-dev build-essentialOnce the packages have been installed, you can go to download Git from the download page.
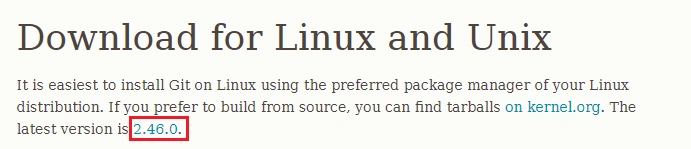
In our case we will install 2.46.0 version.
# wget https://www.kernel.org/pub/software/scm/git/git-2.46.0.tar.gzRun the following command to extract the downloaded archive:
# tar -xvf git-2.46.0.tar.gzNavigate to the extracted directory with the following command:
# cd git-2.46.0Run the following commands to compile the Git source code and install Git and also restart the bash shell to save the changes:
# make prefix=/usr/local all
# make prefix=/usr/local install
# exec bash
To verify the installation, use the following command:
git --versionOutput:
git version 2.46.0Basic configuration
Once Git is installed, you will need to configure it with the Git config command:
git config --global user.name "Linux Tuto" git config --global user.email "[email protected]" Verify the changes:
# git config --list
user.name=Linux Tuto
[email protected]
Comments and Conclusion
That’s it. You have successfully installed Git on Ubuntu 24.04.
For additional help or useful information, we recommend you to check the official Git documentation.
If you have any questions please leave a comment below.